CUT OUT PEOPLE - SHADOWS
It felt often confusing, why achieving flawless placement of cut-out people can be so challenging?
However, the difficulty lies not in matching the light intensity/direction/color of the cut-outs with the scene but rather in grounding them by adding shadows. We should first understand the shadow types to fully understand how and where to add them.

CUT-OUT PLACEMENT CHECKLIST
To achieve flawless integration of cut-out people into your scenes, addressing certain factors before delving into shadow work is essential. Taking these five considerations into account, you'll lay the groundwork for a more successful and realistic integration process.

sunlight

overcast light

artificial lighting
LIGHTING DIRECTION & INTENSITY
Matching the lighting direction and intensity of the scene with your cut-out people is crucial. Carefully examine the scene's lighting characteristics, such as the sun's position or artificial light sources, and adjust the lighting on your cut-out people accordingly. This will ensure the shadows align correctly and the figures appear naturally grounded.
LIGHT COLOUR & TEMPERATURE
Pay attention to the color and temperature of the light in the scene. Different light sources can emit warm or cool tones, affecting the shadows' color and tone. Adjust the color and temperature of your cut-out people's shadows to match the scene, ensuring a harmonious integration.
PERSPECTIVE & SCALE
Consider the perspective and scale of the scene when placing cut-out people. Ensure that the figures' size, angle, and position align with the overall composition. Matching the perspective and scale helps create a realistic sense of depth and spatial coherence within the scene.
SURFACE INTERACTION
When placing cut-out people on a surface, be mindful of how they interact with that surface. Pay attention to contact points.
ENVIRONMENTAL FACTORS
Consider the environmental factors present in the scene, such as weather conditions or the presence of objects that may cast additional shadows. By considering these elements, you can create a more cohesive and believable integration of cut-out people into the environment.
You set the stage for a successful shadow integration process by addressing these five key considerations. In the next section, we will explore the different types of shadows and how to utilize them effectively to achieve flawless blending with the scene.
TYPES OF SHADOWS
If you want to go into a full send 'realistic mode' - there are four types of shadows you need to take into consideration - drop, contact, ambient and self shadows.
For the simplicity of this post, we will focus on two key types: drop (cast) shadows and contact shadows. Drop shadows create the effect of objects dropping their shadow. In contrast, contact shadows indicate where the object makes contact with the surface.

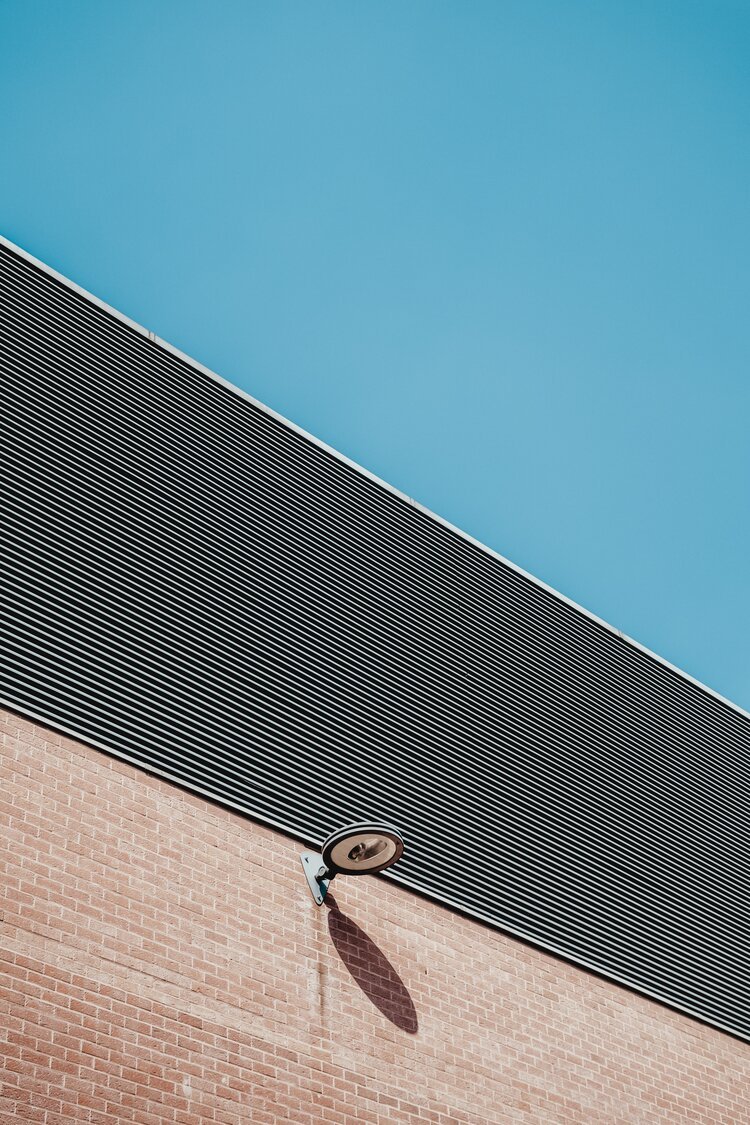
WHAT IS DROP SHADOW?
Drop shadows are particularly noticeable when there is a bright and concentrated (directional) light source, such as the sun, a spotlight, or stadium projectors. To ensure accurate drop shadows in your post, it's crucial to match the direction and angle of the light source. In certain cases, considering the shadow color will further enhance realism.
Below are some examples of real-life drop shadows.
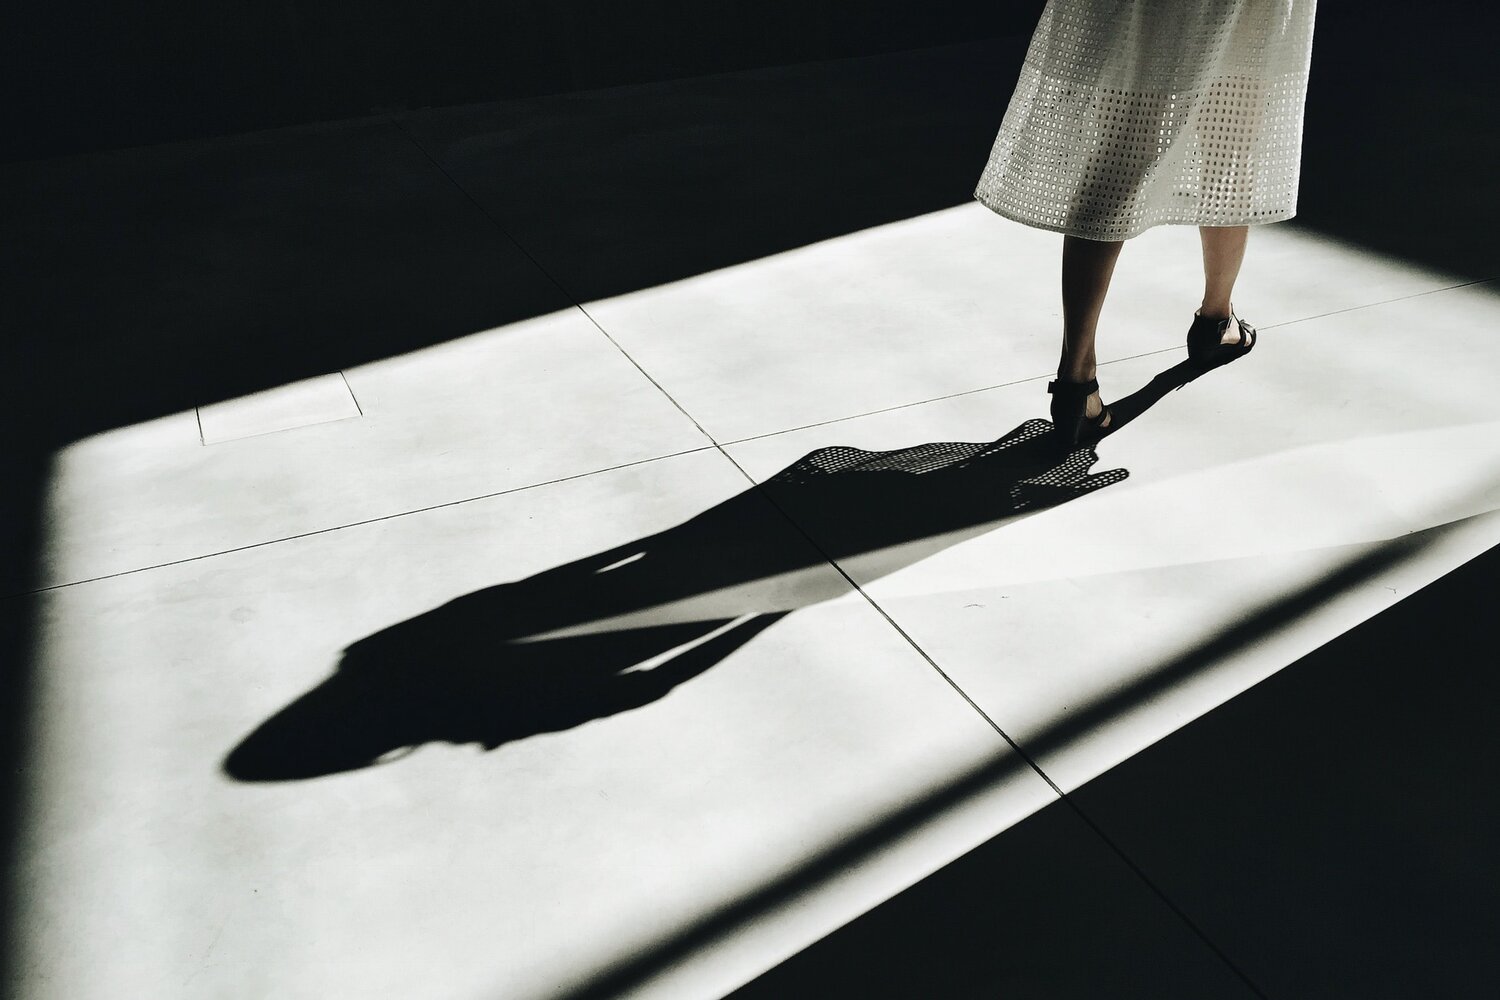
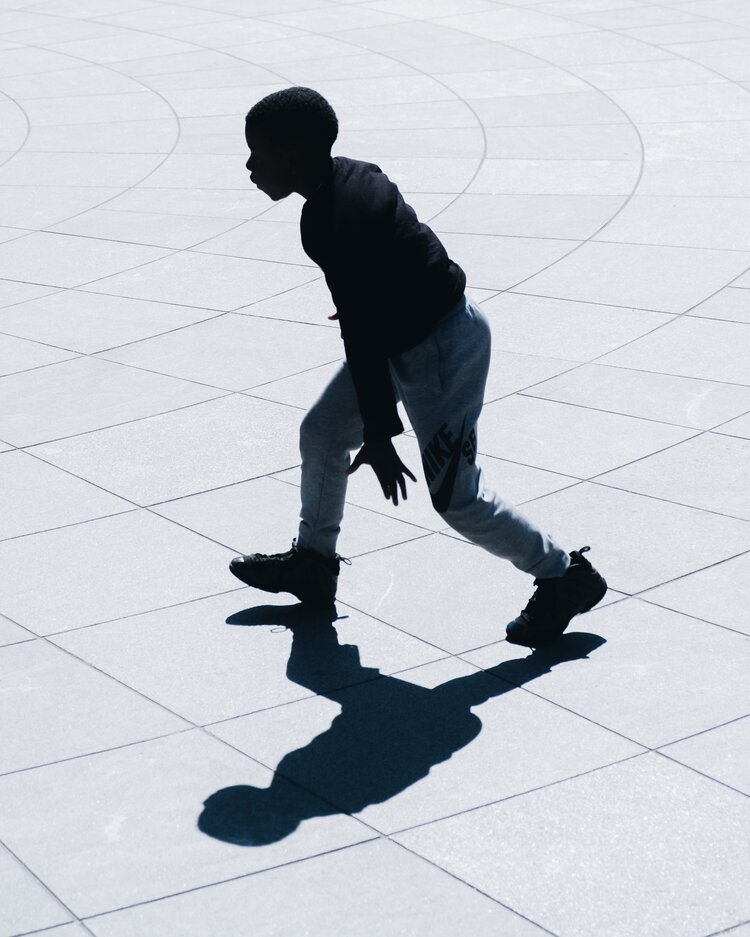


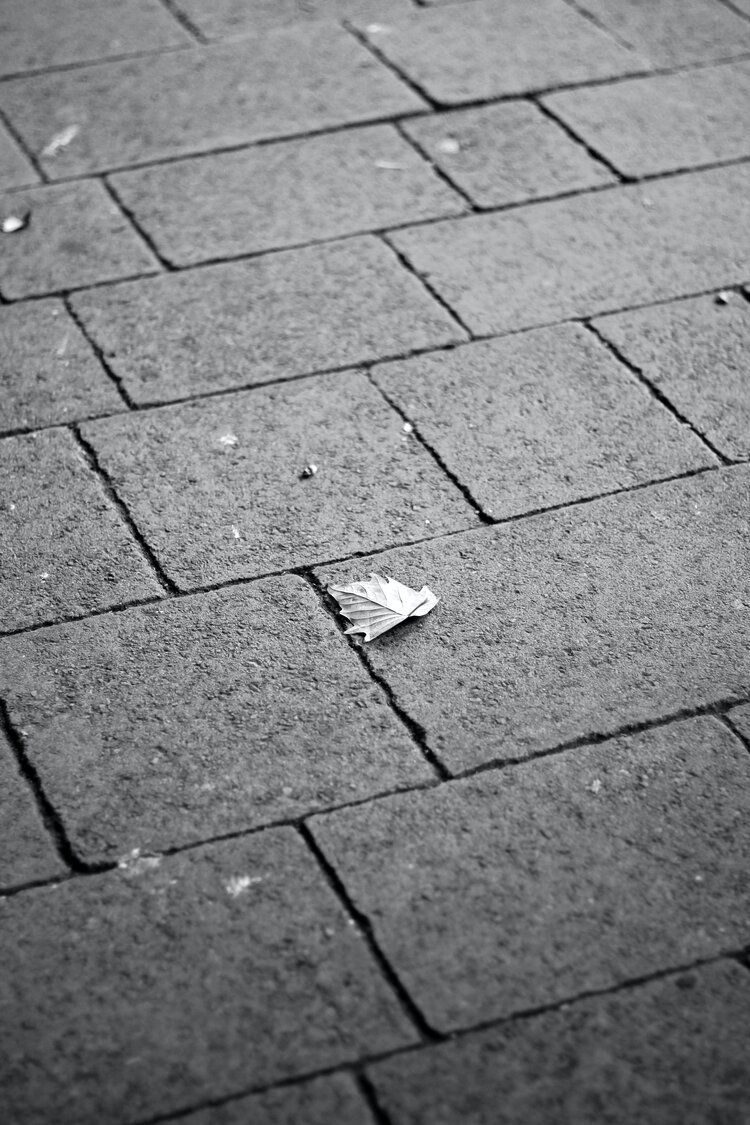
CONTACT SHADOWS
As mentioned before, contact shadows play a vital role whenever there is contact between the cut-out people and the surface. Unfortunately, these shadows are frequently added incorrectly or overlooked entirely. However, it is crucial to understand their significance as they are instrumental in ensuring that your cut-outs blend in seamlessly with the scene. Properly incorporating contact shadows will greatly enhance the overall realism and integration of the cut-out people within the environment.
Below are some examples of real-life contact shadows.


RIGHT WAY TO ADD SHADOWS
Since drop shadows are often the most noticeable and easily understood by the human eye, they are relatively straightforward to implement. Therefore, they are not the real problem here. Instead, we will shift our focus to the often neglected but crucial contact shadows. These shadows demand more attention and care in order to achieve a seamless integration of cut-out people into the scene. While contact shadows may not be immediately visible, their absence or incorrect implementation can significantly impact the realism and overall blending of the composition.
Luckily, creating them is a relatively simple process, and having the right brush in your arsenal can make all the difference, and this is what it looks like:

You can gradually build the contact shadows using the designated brush by adjusting the size, shape, opacity, and spacing according to your needs. However, to streamline your workflow and save time, it's essential to familiarize yourself with useful keyboard shortcuts. If you're using Affinity Photo, I recommend watching this video. For Photoshop users, here is the link.
And lastly, here is a GIF that shows “step by step“ process:

And this is the zoomed out cut-out. It took me around 2 minutes to create these shadows:

From this point on I hope it makes sense how to implement it in your workflow.
For your own practice purposes, I've uploaded brushes (AP & PS) HERE. I also included additional brushes (with different roundness and opacity levels) to get things going faster. And there are 20 or so cut-outs for you to download on FREE STUFF. Now it is your turn!
AND FINALLY
Creating seamless and realistic shadows shouldn’t be hard. Once you know the right technique and make it into your daily practice, it will feel natural.
If you have any comments or questions, I will be happy to answer them below.
Thank you for reading, and till the next post! Cheers!